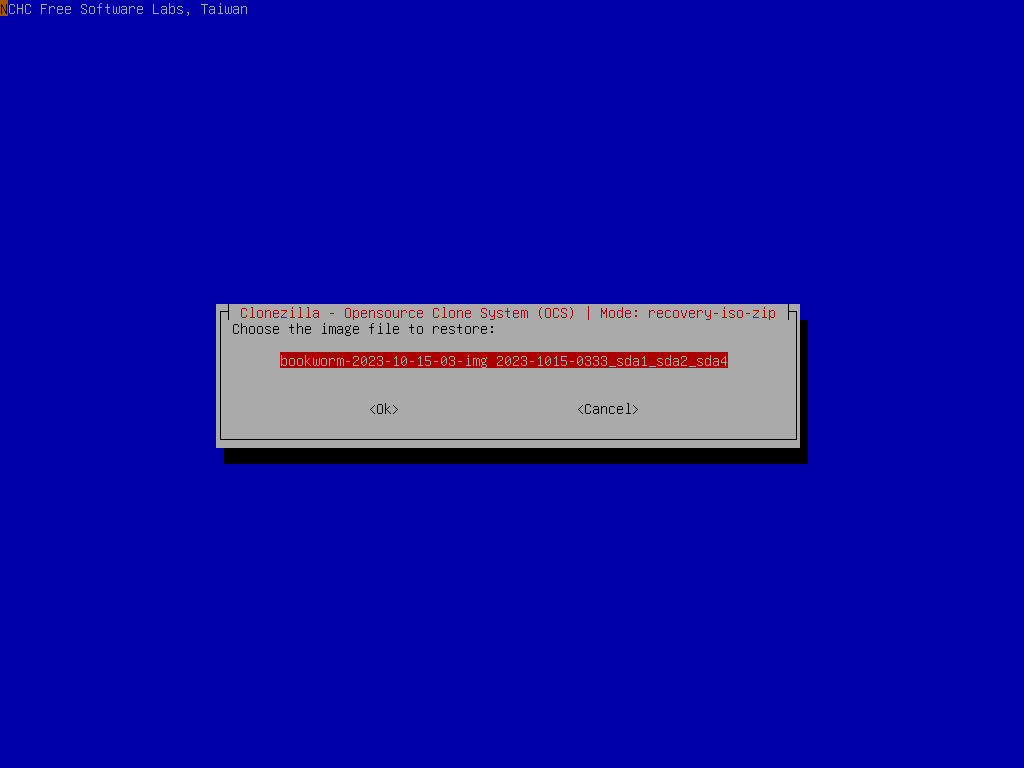
Choose the image you want to include in the recovery CD or USB flash drive:
|
Choose the destination disk to be recovered when the recovery CD or USB flash drive is used:
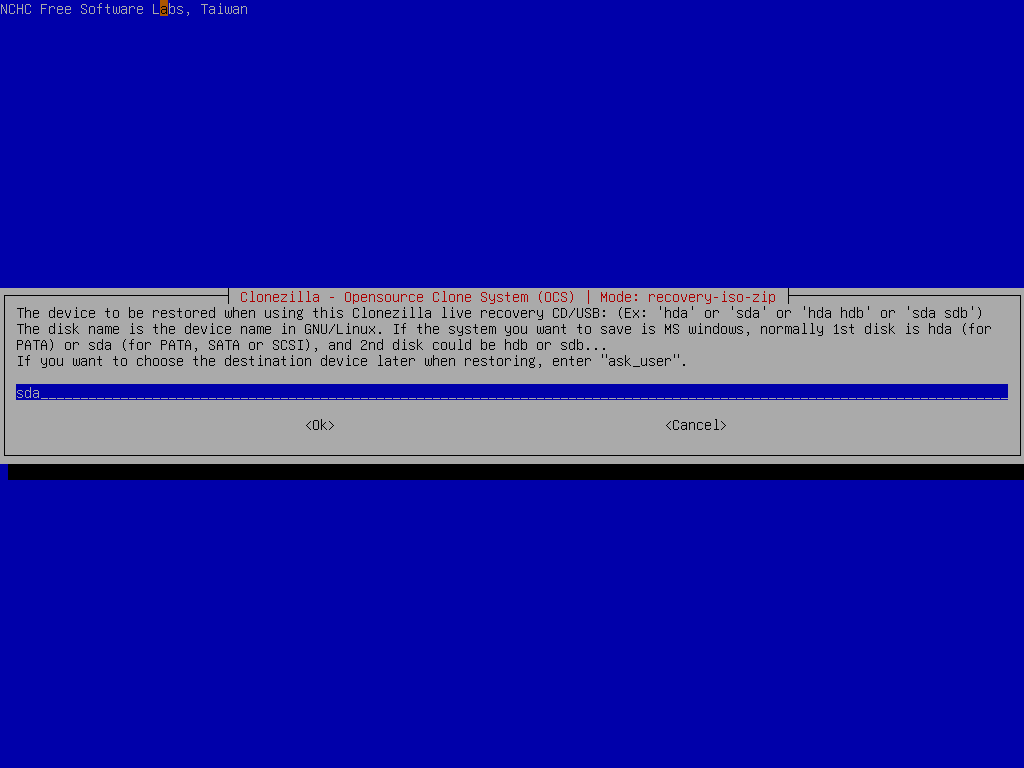
//NOTE// If you want to ask the destination disk after this recovery CD is booted, you can use the keyword "ask_user" and your user will be able to choose the destination disk after he/she boots the recovery CD.
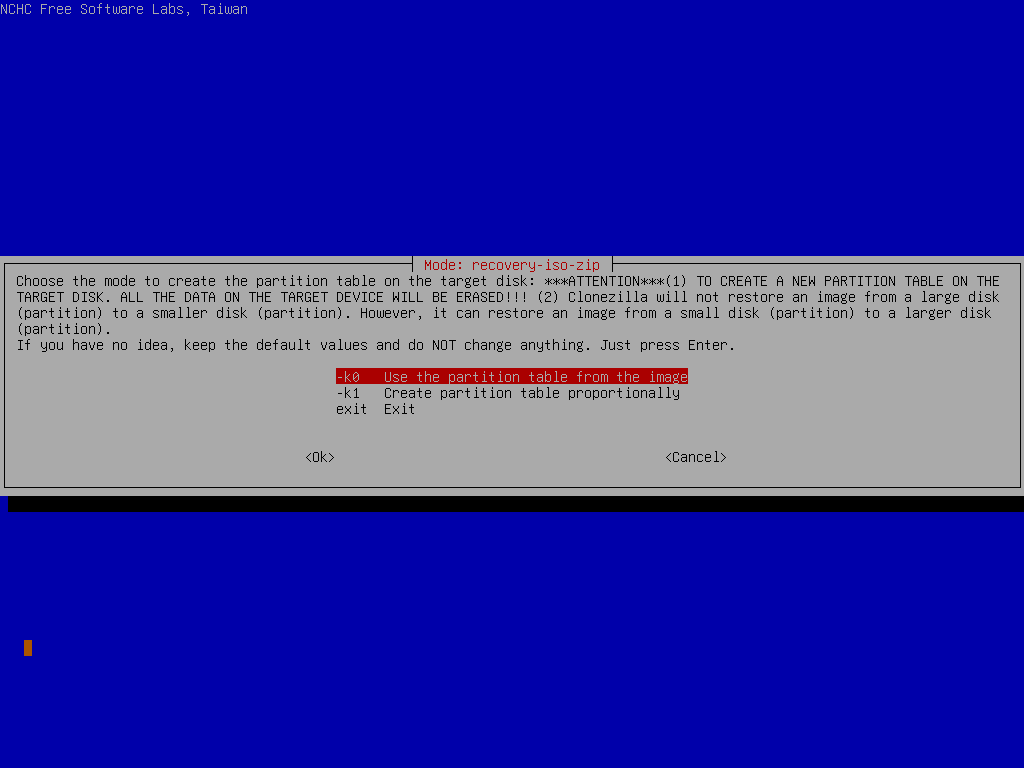
Choose the option to create the partition table on the destination. First choice is to use the partition table from image, 2nd choice is to create the partition table proportionally, i.e., if you have the image which is samved from a smaller disk, here you can create the partitions proportionally on the destination disk:
Choose to check the image integrity before really restoring the image to disk sda:
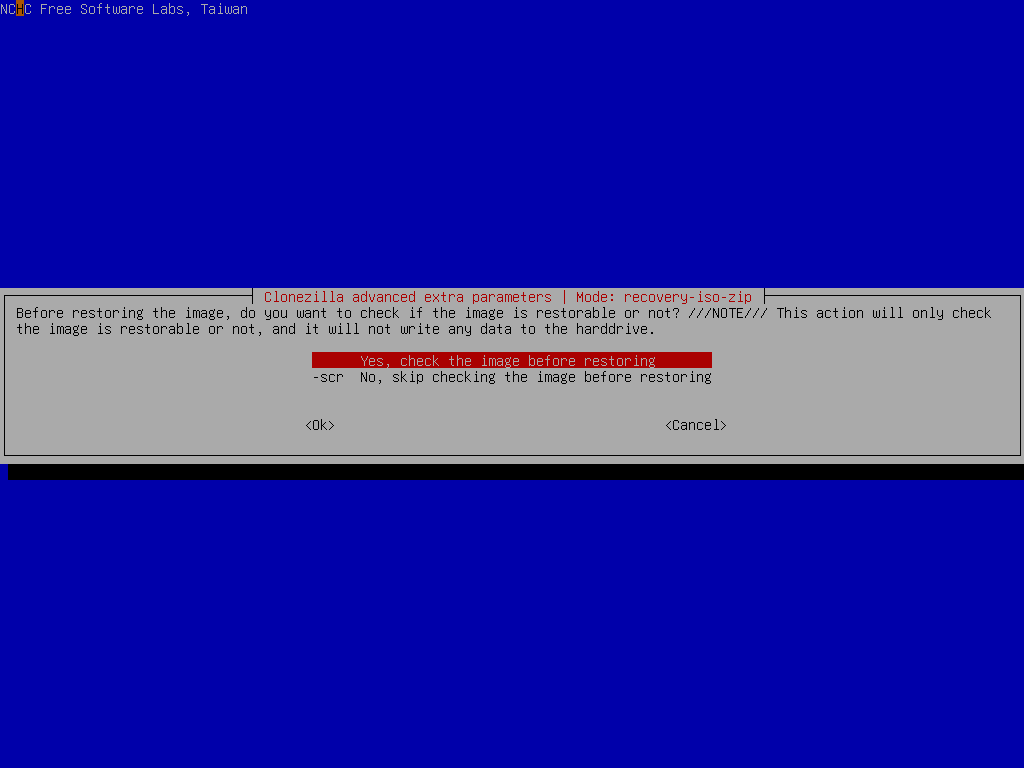
It's recommended to check the image before restoring it. You will not know if the image is broken or not. If you are really sure about the integrity is OK, then of course you can choose "-scr" to skip checking.
Select the mode you want after the disk restoring is done:
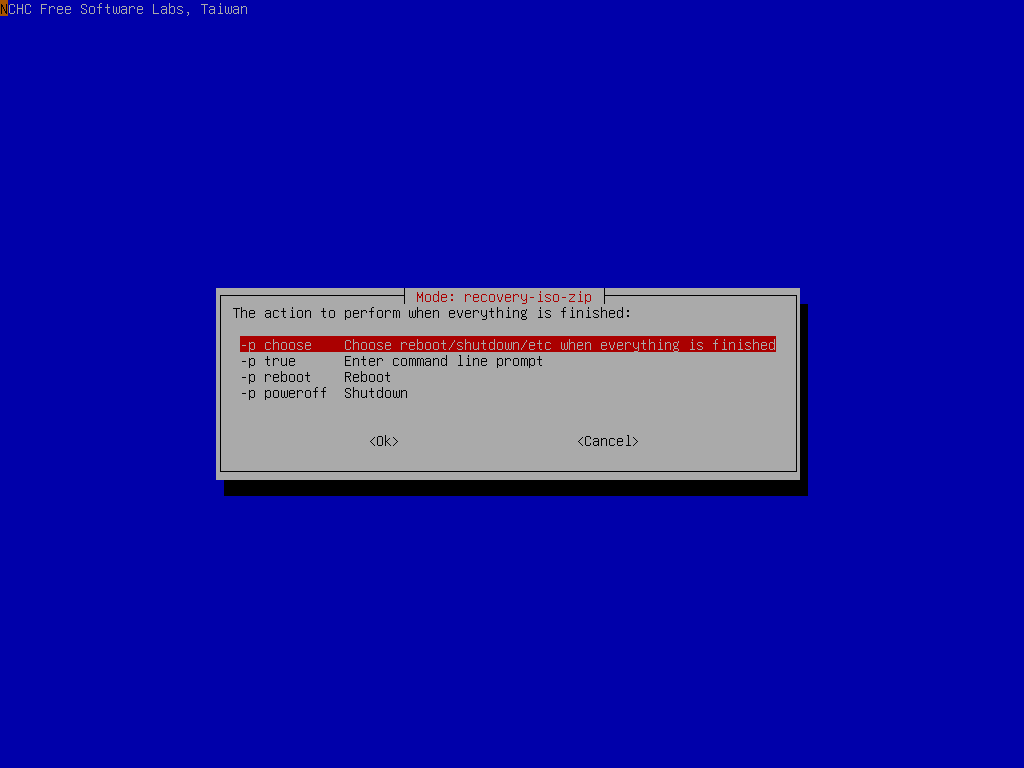
By default we will choose later, but if you have decided, you can choose to reboot or poweroff the machine.
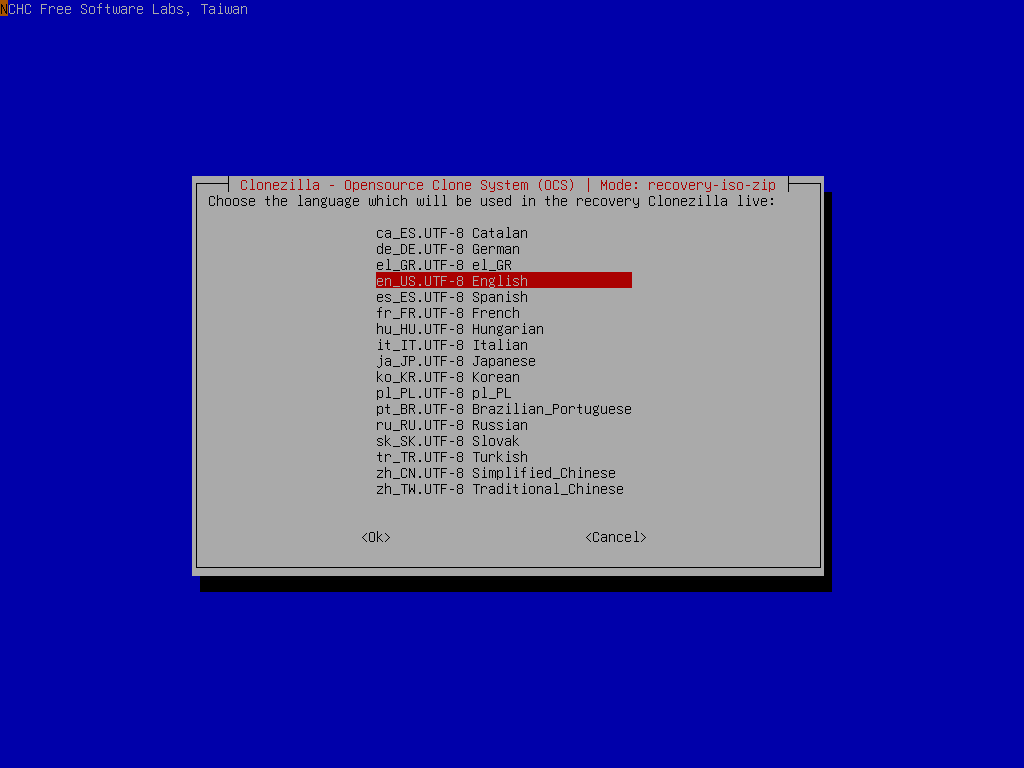
Choose the language when the recovery CD or USB flash drive is used:
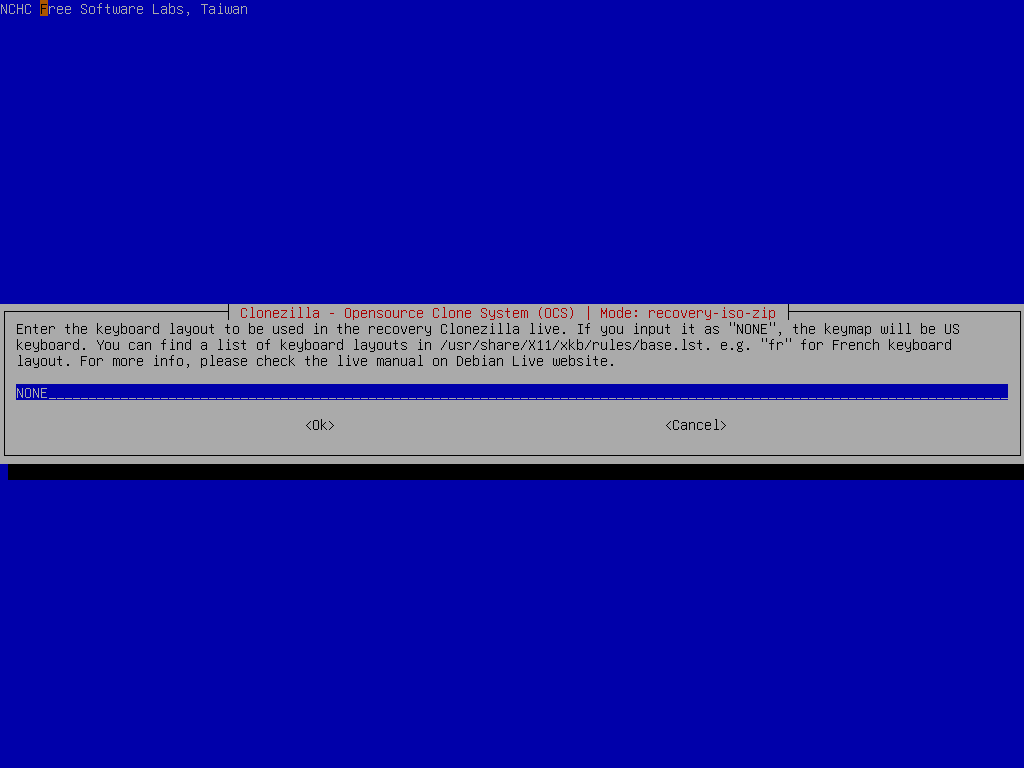
Set the keyboard layout when the recovery CD or USB flash drive is used, here we chose "NONE". That means we won't change the keyboard layout, i.e. the US keyboard layout will be used:
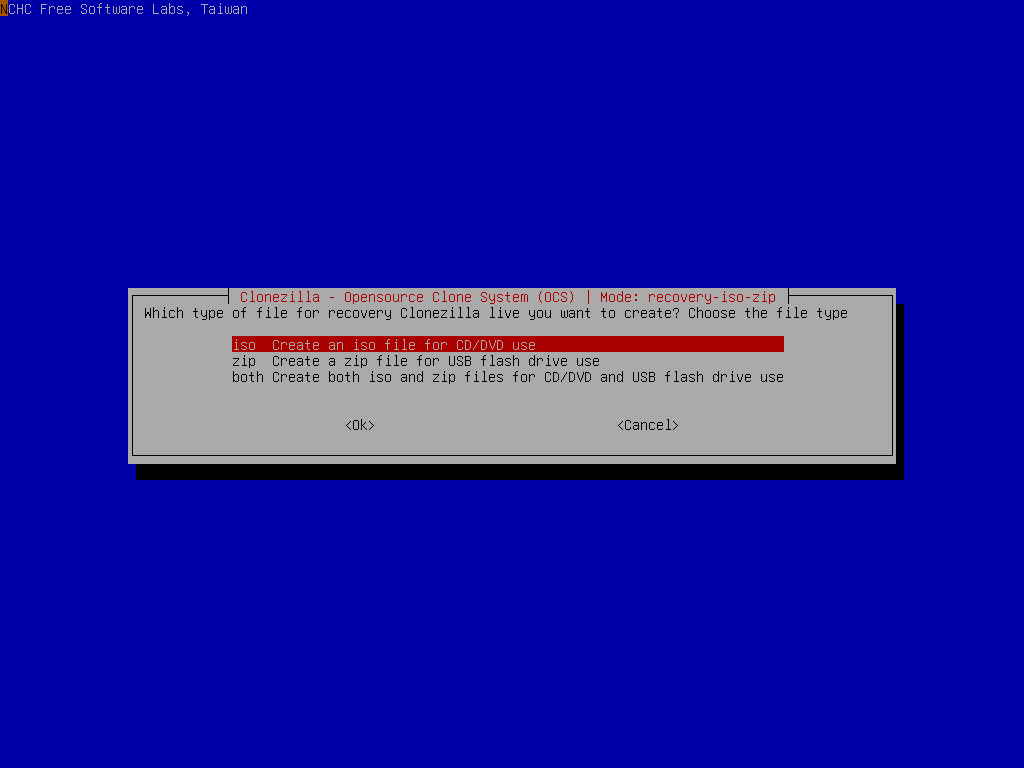
Choose you want to creaet iso file (for CD/DVD), zip file (for USB flash drive) or both. Here we choose iso:
Clonezilla will list the command to create such a iso file:
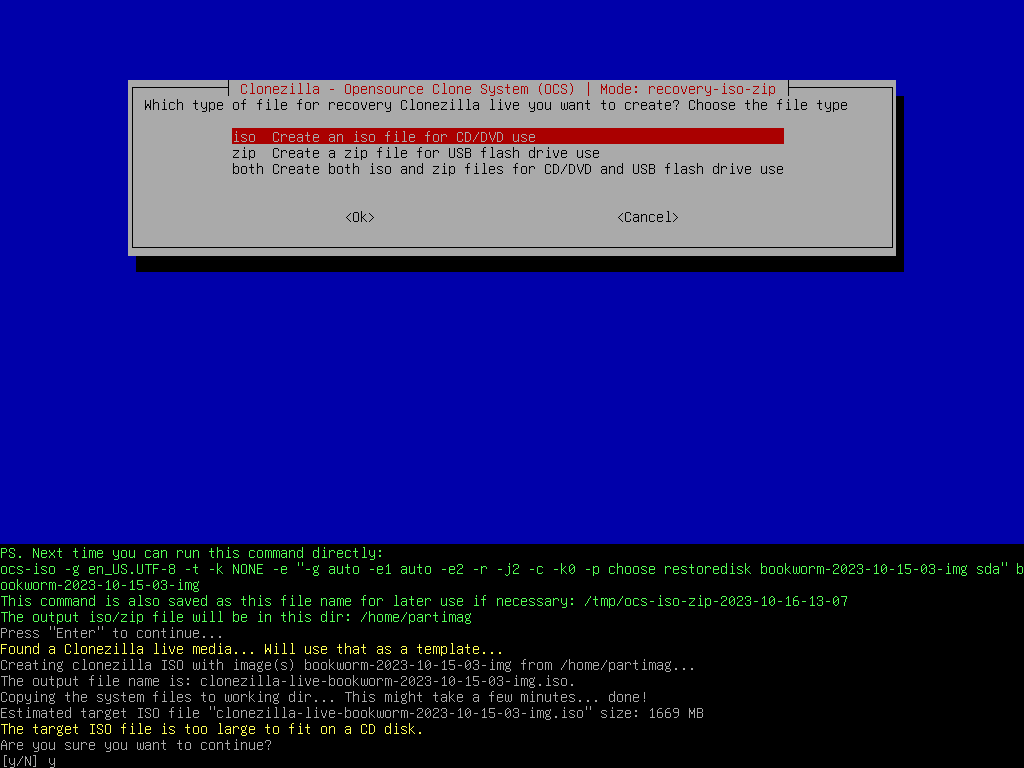
It now asks if you really want to create such a iso file:
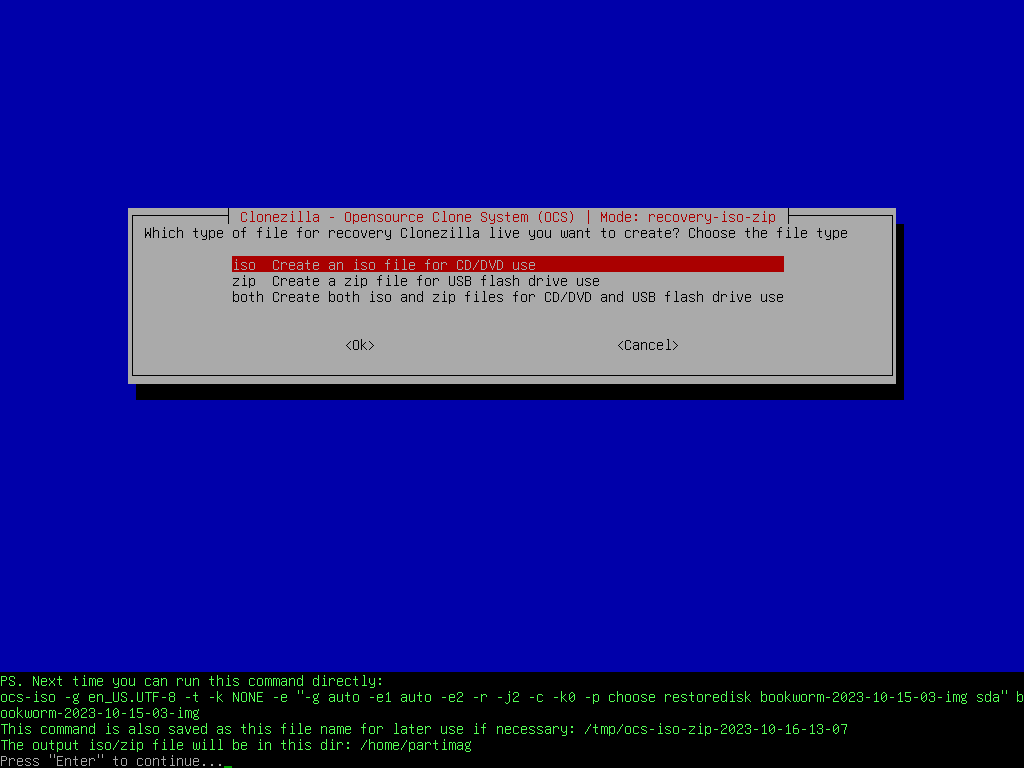
The iso file for recovery CD is creating:
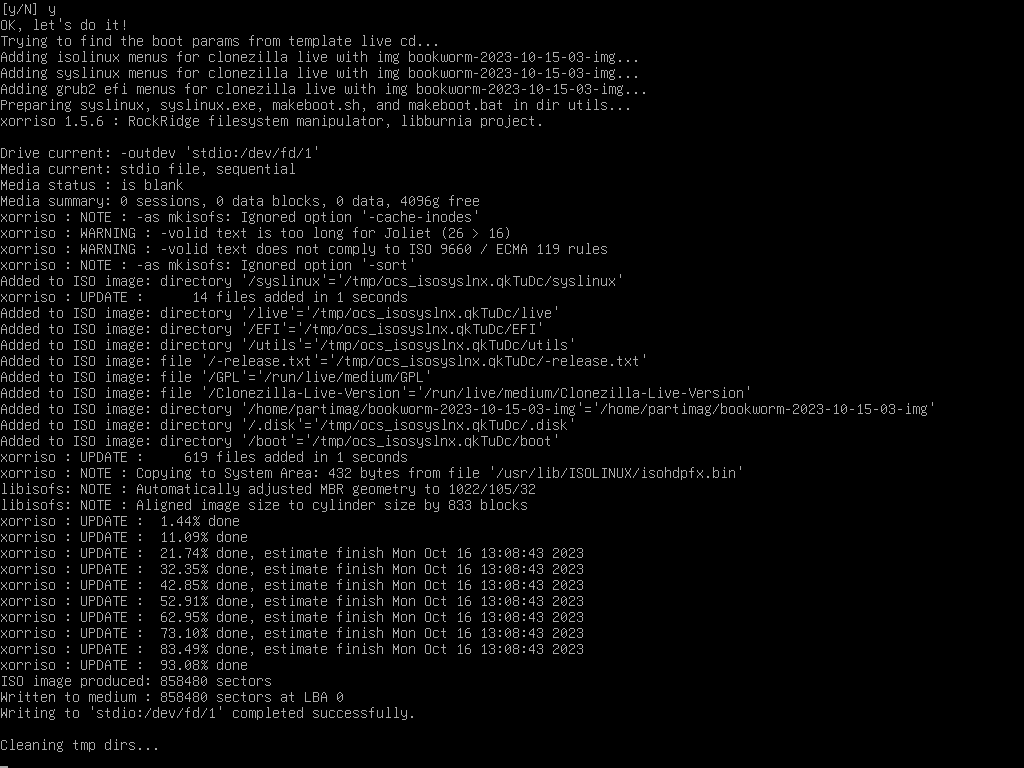
Once it's done, the created iso file is in the dir /home/partimag:

That's all. You can copy (or use network tool to copy, e.g. scp, lftp, to copy the file to another machine. If you need to config the network, run: "sudo -i; ocs-live-netcfg" to config the network.) the create iso file to the machine running with a CD burner. Then you can use burning tool to burn the iso image to CD or DVD. If you want to create a recovery USB flash drive, choose to create zip file, then follow the same method as creating USB flash drive version of Clonezilla live to put the created zip file on USB flash drive and make it bootable.
 |
|


