| Choose "lite-server" option |

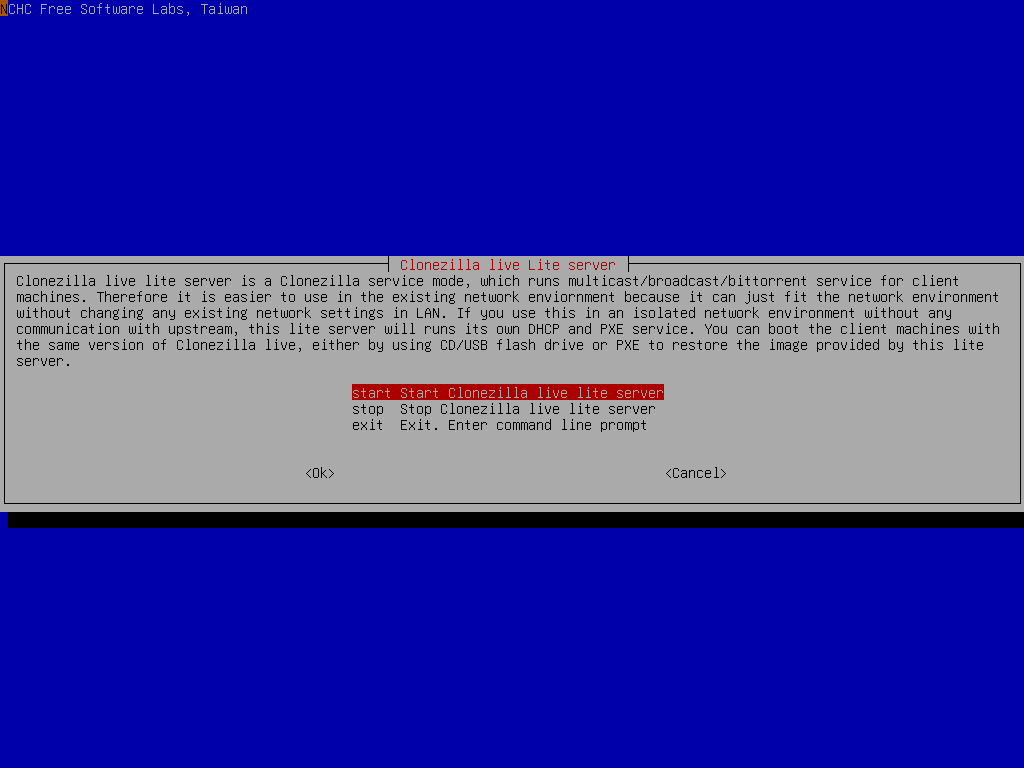
Start Clonezilla lite server
Now choose start Clonezilla lite server:

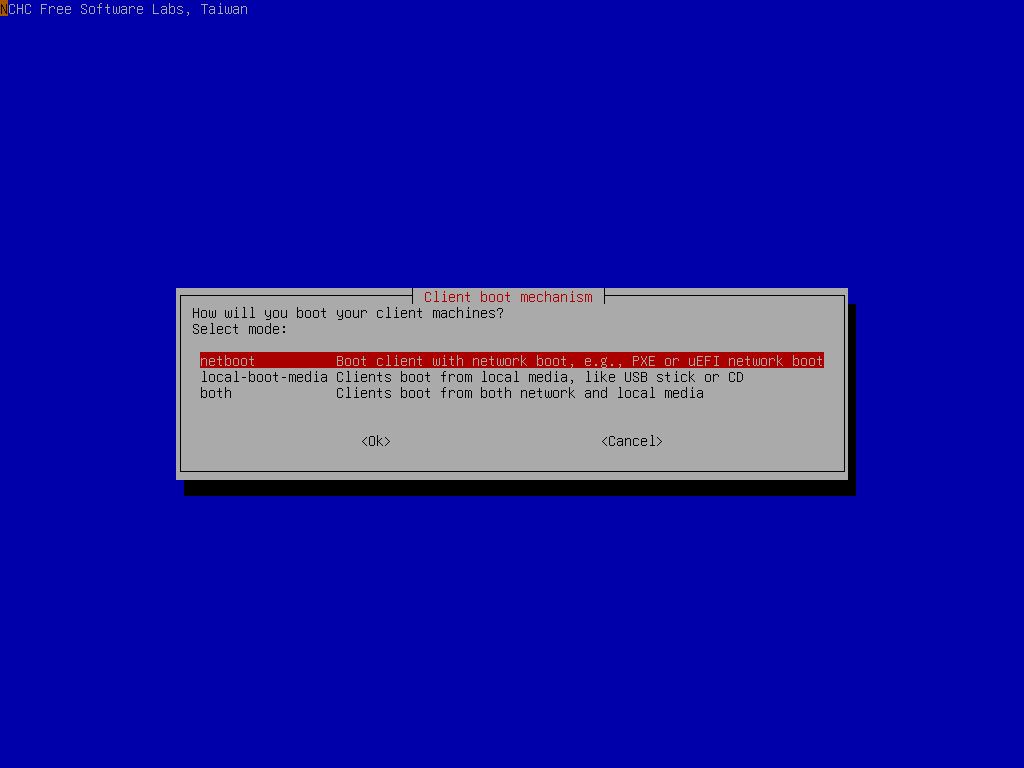
Decide the client machine booting mechanism. Here we choose clients will boot from network (PXE or uEFI network booting):

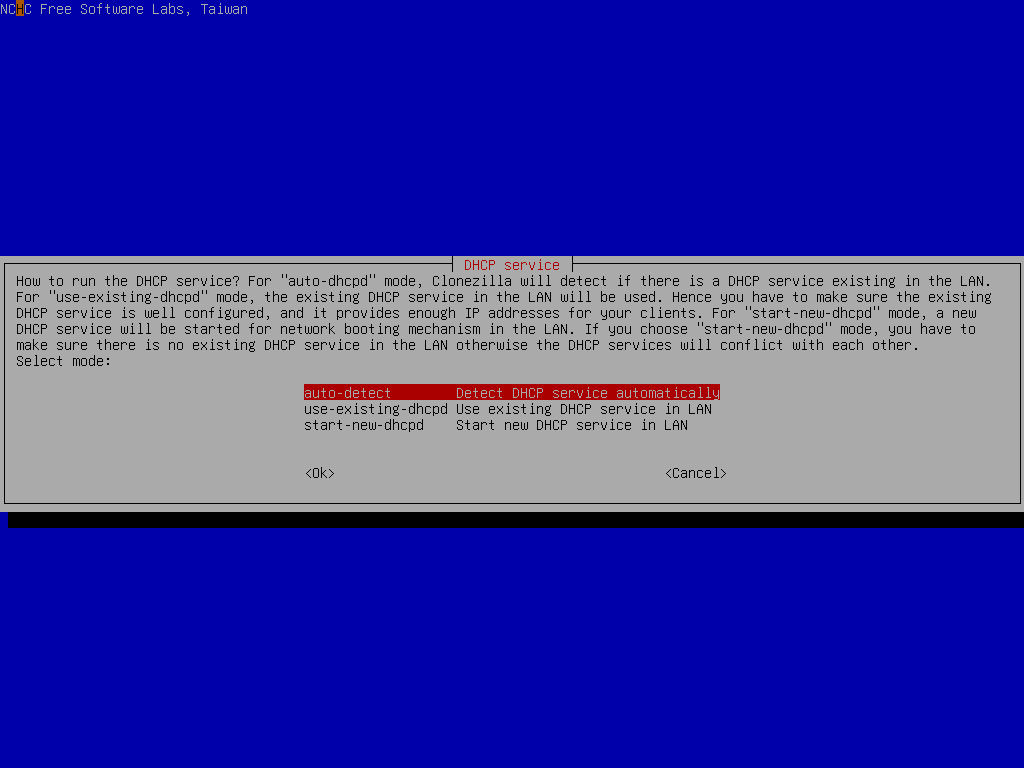
Here we choose to detect DHCP service automatically. If the existing one is found, we can reuse it. Otherwise we have to start our own DHCP service:

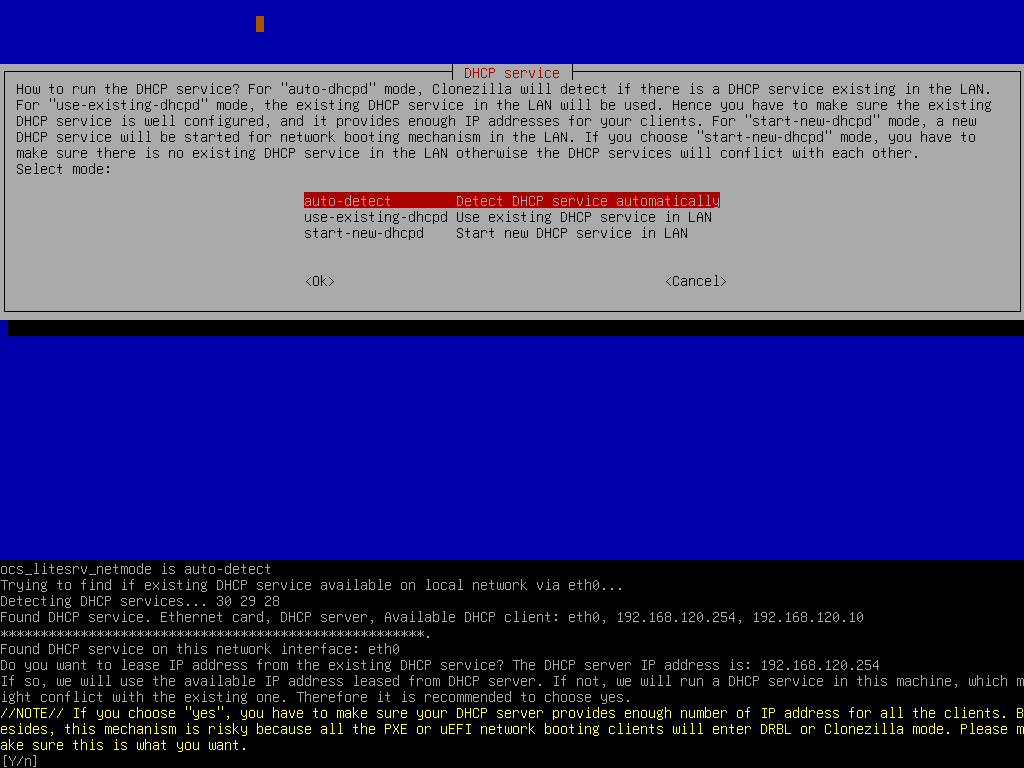
So now Clonezilla lite server will detect the existing DHCP service. Once it is found, the Clonezilla lite server will borrow (reuse) the existing service, i.e., relay the client's DHCP request to the existing DHCP server:

The existing DHCP service in the LAN has been detected, so now Clonezilla lite server will relay the client's DHCP request to existing DHCP service.
//NOTE// Pay attention to the prompt. You have to make sure the DHCP service will provide enough IP addresses to all the clients. Besides, this mechanism is risky because all the PXE or uEFI network booting clients will enter DRBL or Clonezilla mode. Please make sure this is what you want.
 |
|


